
Mastering sewing silhouette is one of the most important skills a fashion student can develop. Silhouette defines how a garment exists on the body, its volume, proportion, and presence, long before colour, print, or detail is noticed. While pattern making provides structure, fabric choice ultimately determines whether a sewing silhouette succeeds or fails.
This guide breaks down how to sew for silhouette, step by step, showing how fabric selection, weight, texture, and construction techniques work together to shape a finished garment. Whether you are sewing your first collection piece or refining your design process, understanding sewing silhouette will immediately elevate your work.
Step 1: Define the Sewing Silhouette Before You Choose Fabric
Before selecting fabric, you must clearly define the silhouette you want to achieve. Sewing silhouette begins with intention.
Ask yourself:
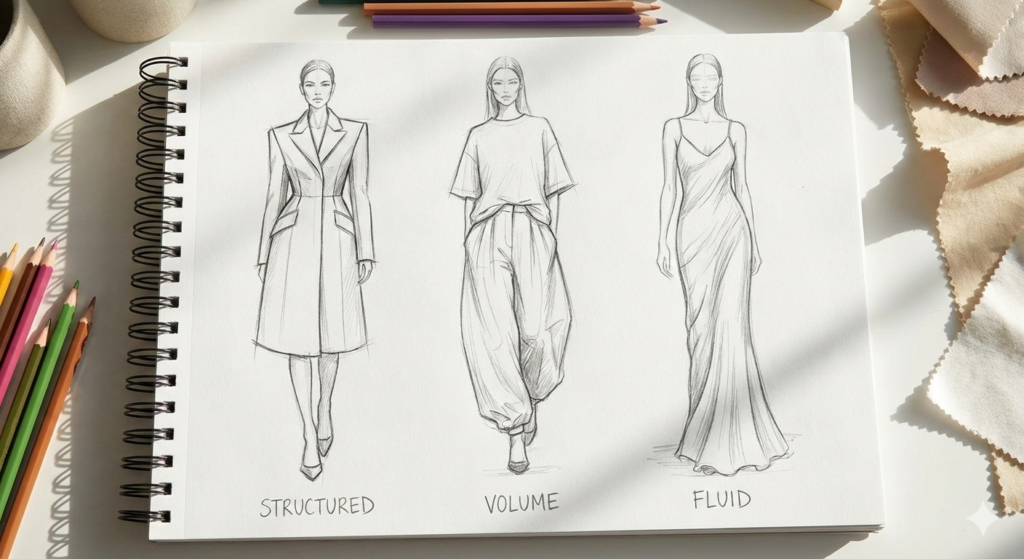
- Is the silhouette structured or fluid?
- Does it sit close to the body or away from it?
- Is volume created through shape or movement?
A sculptural coat, an oversized trouser, and a bias-cut slip dress all require completely different fabric behaviours. Defining the sewing silhouette first prevents forcing unsuitable fabrics into designs they cannot support.
In high fashion, designers often conceptualise silhouette independently from surface design. This approach ensures the garment’s form is resolved before aesthetic details are added.
Step 2: Choose Fabric Based on Drape vs Structure
One of the most critical decisions in sewing silhouette is understanding the difference between draped and structured fabrics.
How to Sew a Fluid Sewing Silhouette
Draped fabrics create silhouettes that respond to movement and gravity. These fabrics fall naturally around the body and soften construction lines.
Best fabrics for fluid sewing silhouettes include:
- Silk
- Viscose
- Rayon
- Fine jersey
- Lightweight crepe
When sewing with draped fabrics:
- Avoid heavy interfacing
- Minimise seams
- Use bias cutting where possible
- Let the fabric move naturally
Trying to over-control a fluid fabric often destroys the sewing silhouette. The goal is collaboration, not domination.
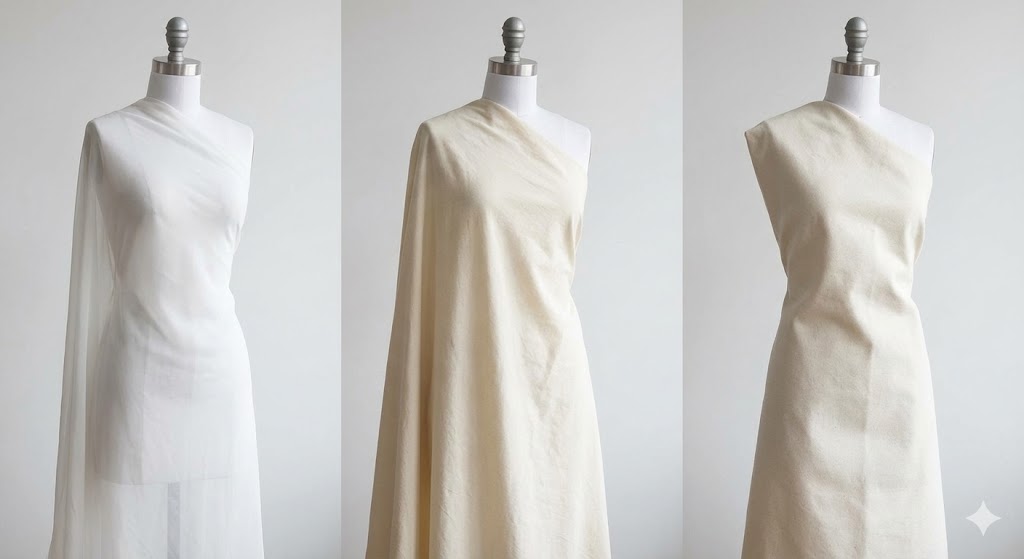
Step 3: Test Fabric Weight to Control Sewing Silhouette
Fabric weight plays a major role in silhouette development and should never be overlooked.
How Fabric Weight Affects Sewing Silhouette
- Lightweight fabrics enhance movement but struggle with volume
- Midweight fabrics balance structure and drape
- Heavyweight fabrics create strong, sculptural silhouettes
If you are designing oversized garments, cocoon shapes, or exaggerated proportions, heavier fabrics are essential. Attempting these designs in lightweight materials often results in garments that look unfinished or shapeless.
When sewing, fabric weight influences:
- Pattern ease
- Seam reinforcement
- Hem depth
- Garment longevity
Testing fabric weight early saves time and prevents costly mistakes.
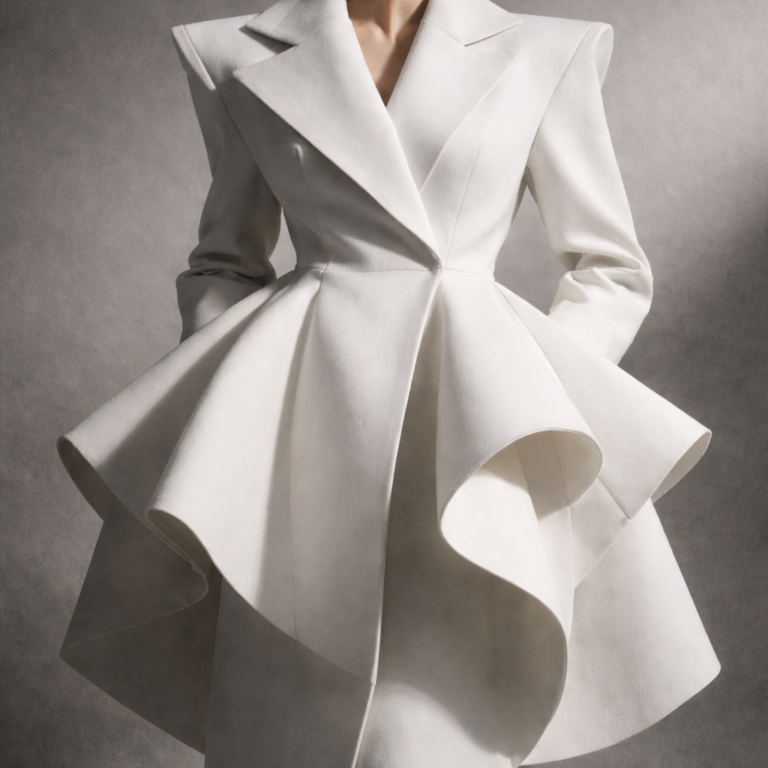
How to Sew a Structured Sewing Silhouette
Structured fabrics allow designers to build form, volume, and architectural shape.
Best fabrics for structured sewing silhouettes include:
Wool suiting
Cotton twill
Denim
Canvas
Heavy jacquard
Structured silhouettes require:
Interfacing and underlining
Precise seam placement
Strong construction techniques
Considered internal support
High-fashion silhouettes that exaggerate proportion depend heavily on structured fabric choices. Without them, garments collapse and lose clarity.
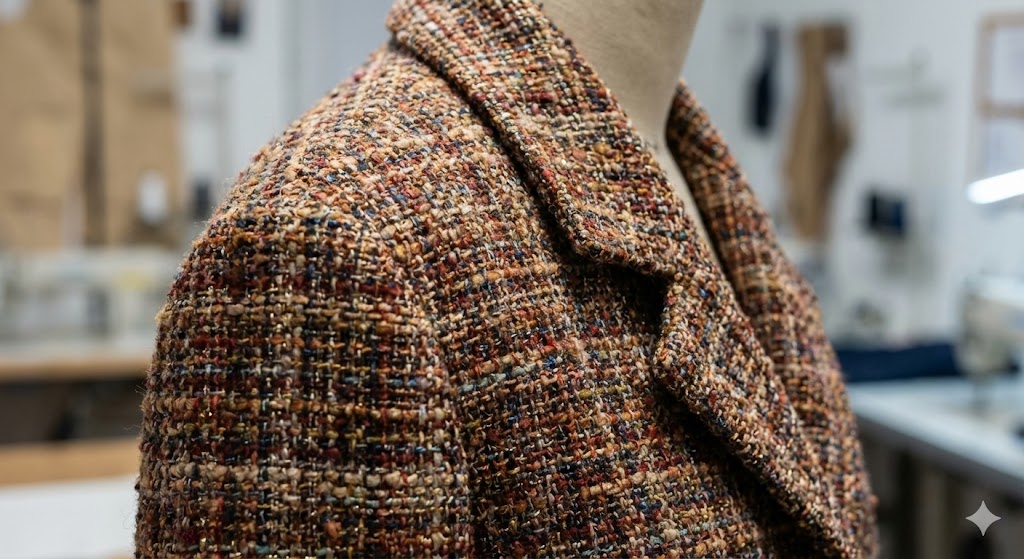
Step 4: Understand How Texture Changes the Sewing Silhouette
Texture affects silhouette visually as much as physically. Even simple patterns can appear complex when made in textured fabric.
Textured fabrics include:
- Tweed
- Bouclé
- Jacquard
- Crinkled cotton
- Felted wool
Texture can:
- Add visual volume
- Emphasise or disguise seams
- Alter how light interacts with the garment
- Change how a silhouette reads from a distance
When sewing silhouette-focused garments, consider texture as part of the design structure — not just surface decoration.
Step 5: Adjust Pattern Making to Support the Sewing Silhouette
Patterns are frameworks, not guarantees. The same pattern can produce completely different sewing silhouettes depending on fabric choice.
How to Modify Patterns for Sewing Silhouette
When working with different fabrics, consider adjusting:
- Seam placement
- Ease allowance
- Dart depth
- Panel size
For example:
- Fluid fabrics may require fewer seams and less shaping
- Structured fabrics benefit from more precise pattern manipulation
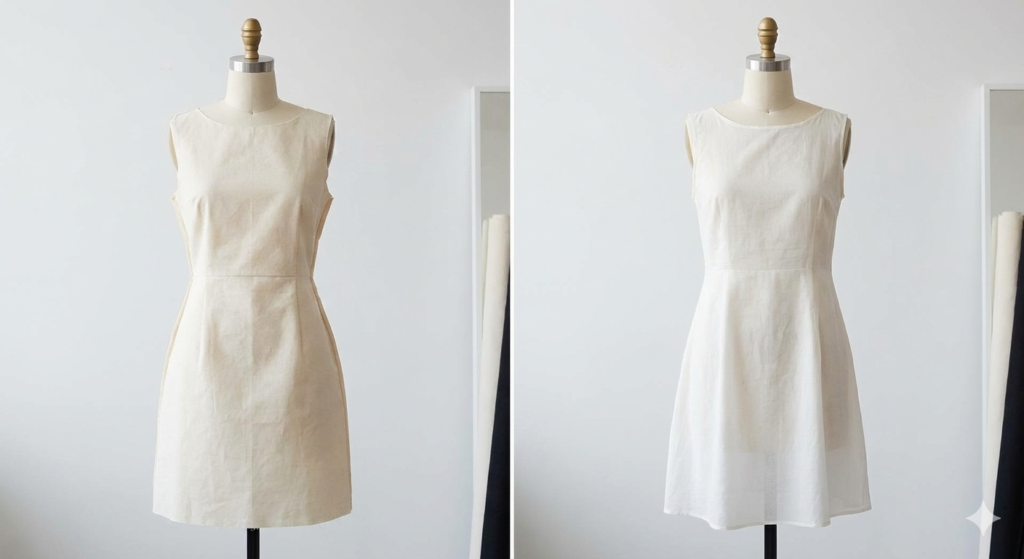
A powerful exercise for fashion students is sewing the same pattern in two contrasting fabrics. This demonstrates how fabric transforms sewing silhouette without altering the pattern itself.
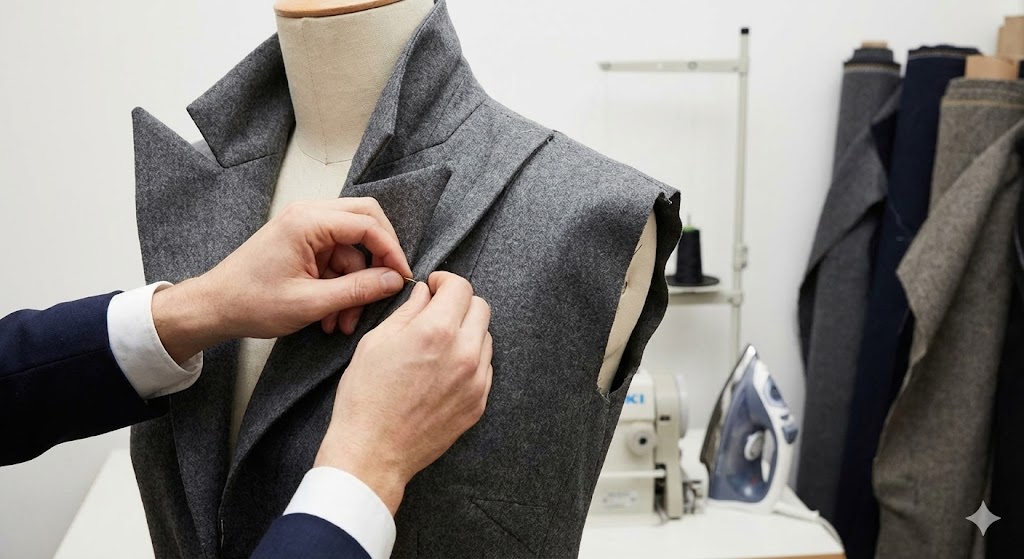
Step 6: Use the Correct Sewing Techniques for Each Fabric
Sewing silhouette depends heavily on construction methods. Using the wrong technique can compromise even the best fabric choice.
Sewing Techniques That Preserve Silhouette
- Fine fabrics: French seams, hand-finished hems
- Wool garments: Structured linings, pad stitching
- Stretch fabrics: Stabilisation and reinforced seams
Each fabric demands a different approach. Ignoring this relationship results in garments that fit but lack clarity, durability, or refinement.
High-fashion sewing is defined by adaptability — techniques must serve the silhouette, not convenience.
Step 7: Make a Toile That Reflects the Final Sewing Silhouette
Toiles are essential for silhouette development, but standard calico has limitations. While useful for fit, it cannot replicate the behaviour of silk, wool, or knit.
How to Test Sewing Silhouette Accurately
Advanced designers often:
- Create partial toiles in similar-weight fabrics
- Drape directly with final materials
- Adjust patterns after fabric testing
This process allows the sewing silhouette to evolve realistically, based on material behaviour rather than assumption.
Step 8: Style the Garment to Reveal the Sewing Silhouette
Sewing silhouette does not end at construction. Styling reveals how the garment interacts with space, movement, and layering.
- Structured garments often require minimal styling
- Fluid garments benefit from layering and motion
- Fabric determines how garments photograph and move on the body
Considering styling during the sewing process ensures cohesion from design to final presentation.
Step 9: Evaluate the Sewing Silhouette Critically
Once complete, assess the garment objectively:
- Does the silhouette hold its intended shape?
- Does fabric behaviour support the design concept?
- Does the garment move as expected?
Strong sewing silhouette is immediately recognisable. Weak silhouette often appears unresolved, regardless of technical skill.
Learning to critique your work through silhouette sharpens design maturity.
Why Sewing Silhouette Is Central to High Fashion
In luxury and high fashion, silhouette communicates design identity more than trend or embellishment. A strong sewing silhouette reflects confidence, craftsmanship, and clarity of vision.
For fashion students, mastering sewing silhouette marks a shift from simply making garments to designing with intention.